
Introduction
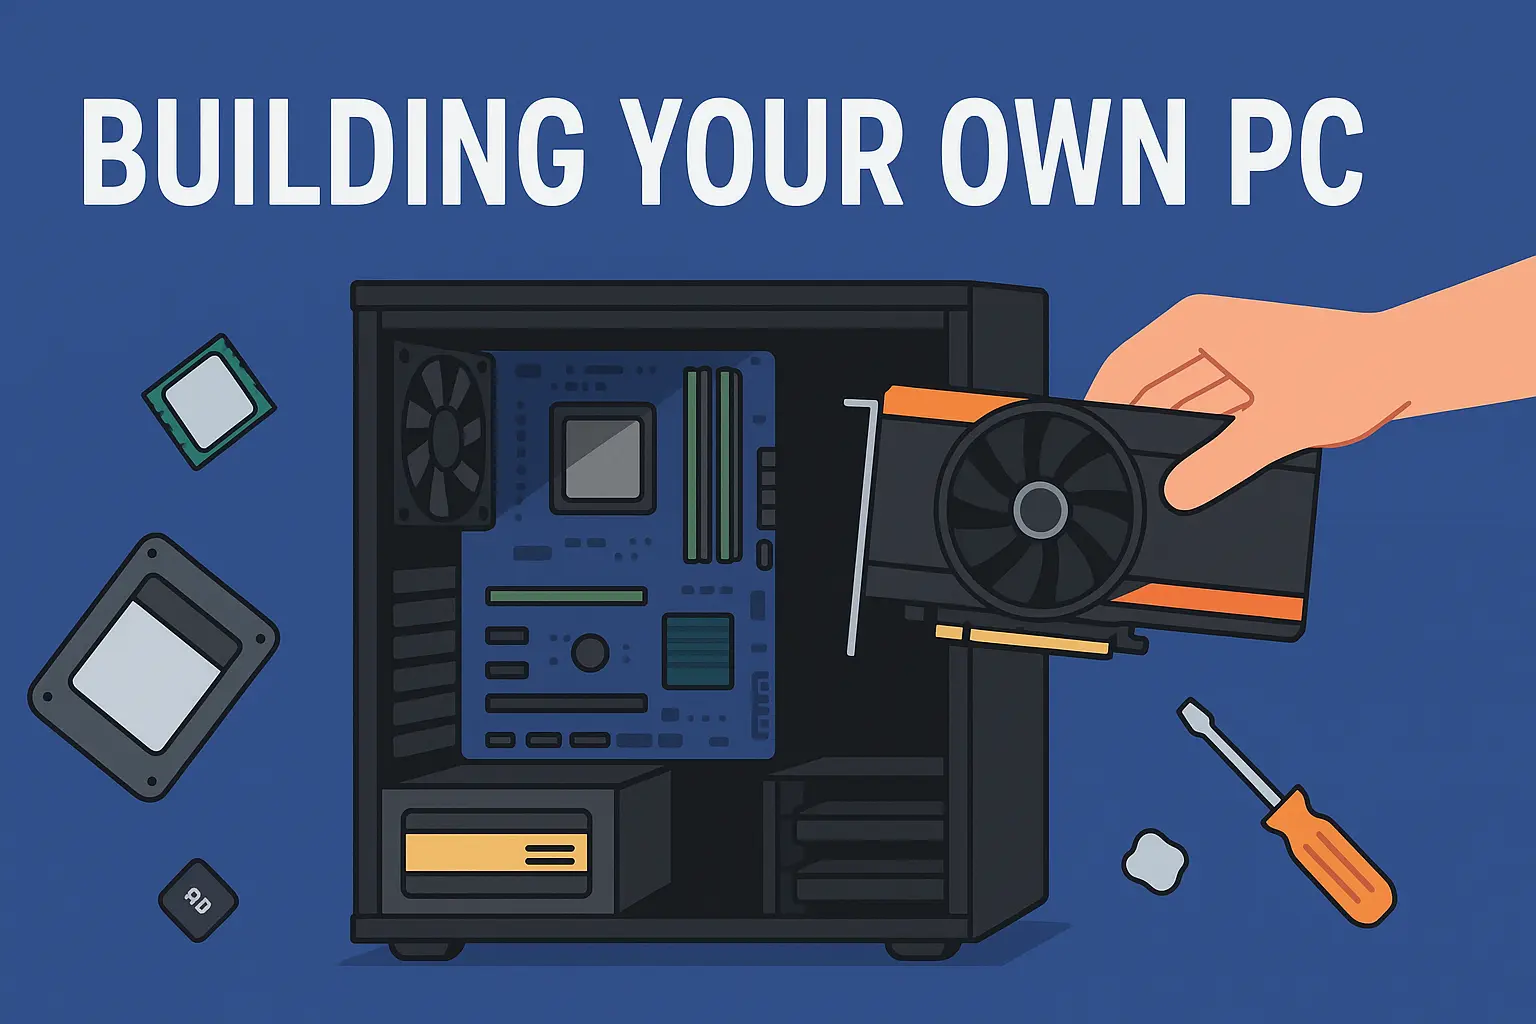
It’s easy to build something awesome that you can use every day—like your own computer! You get to choose exactly what you want to make, so it’s perfect for what you love to do, like playing games or completing schoolwork. In addition to saving money, you’ll learn some really cool skills along the way if you buy online computer parts. This guide is made just for beginners.
Our guide will guide you through selecting parts to turning on your PC for the first time. Ready to become a PC building pro? Let’s get started!
Why Build a PC Yourself?
Building your own PC is great for a few big reasons. First, it can save you money. When you buy a computer from a store, you pay someone else extra to put it together. By building it yourself, you only pay for the parts, which is cheaper. Second, you want to customize it to your liking. Want a PC that’s great for gaming? You can do that! Need it for homework or making videos? You can even choose parts for that. Finally, it’s a fun way to learn how computers work. You’ll feel like a tech wizard when you’re done!
This guide is perfect for anyone new to building a PC. You don’t have to be an expert – just someone excited to try something new.
Planning Your Build
Before you get started, you’ll need a plan, much like a treasure hunt map. Let’s break it down into three parts: figuring out what you want, choosing the right pieces, and gathering some tools.
Set Your Goal & Budget
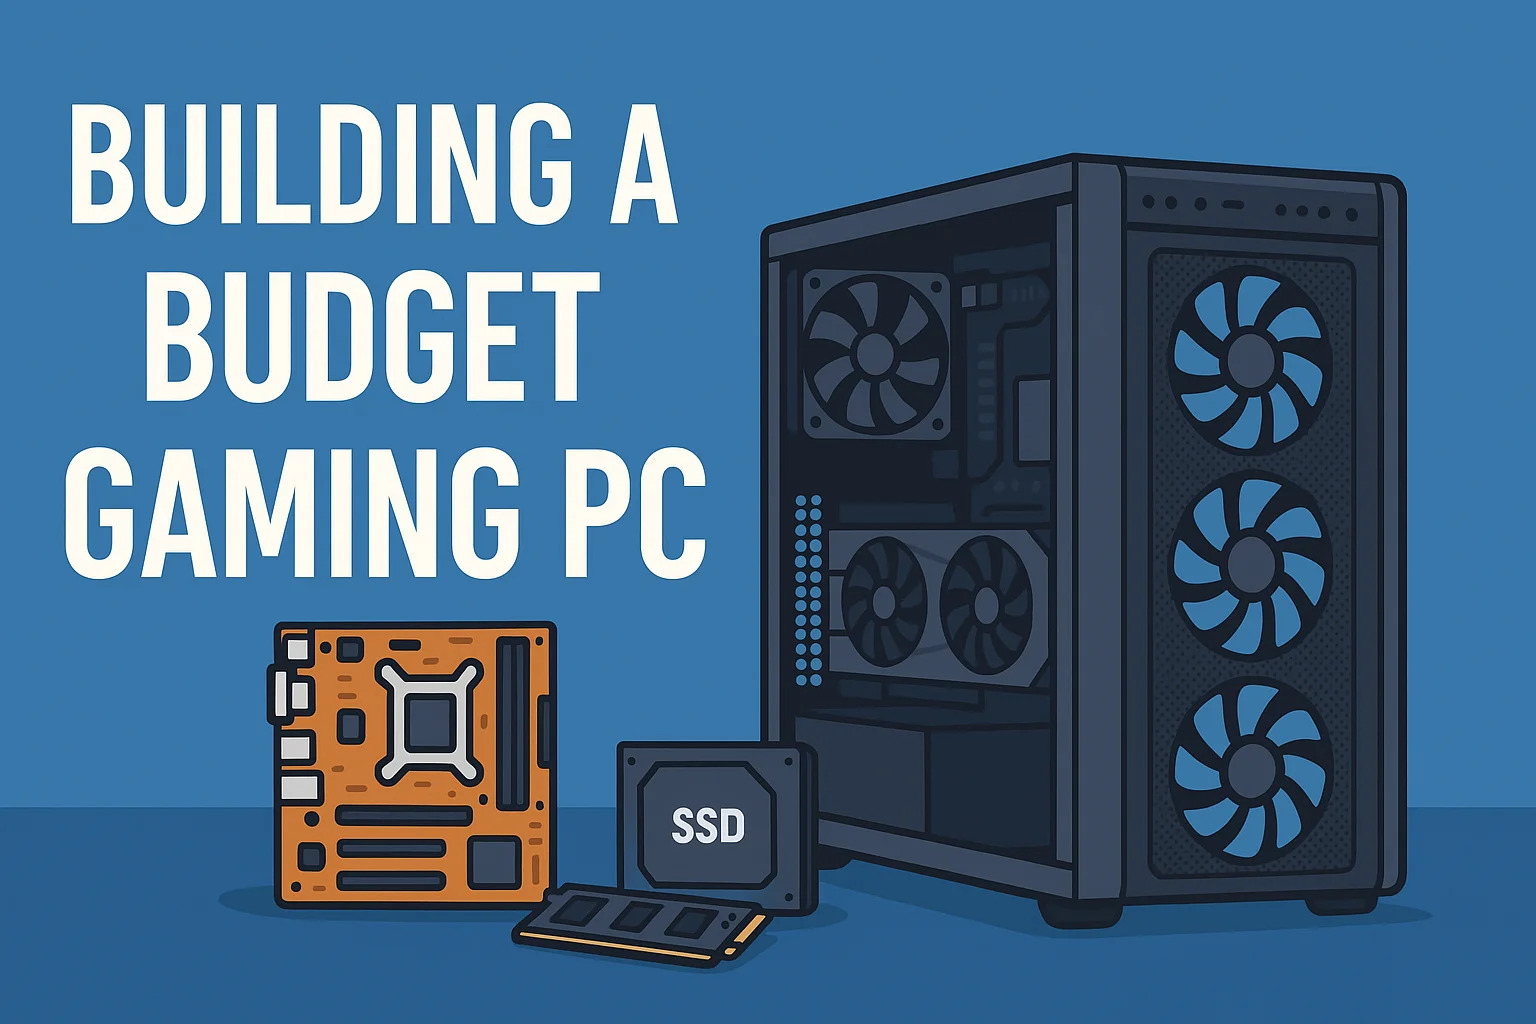
First, you need to know what you want to use your computer for. Start by thinking about that. If you love gaming, you’ll want parts that make games look great and run very fast. If it’s for schoolwork — like typing essays or browsing the web — you won’t need anything fancy. Or maybe you want to create things, like videos or drawings, that require a bit more power. Once you know your purpose, decide how much you can afford to spend. PCs come in a variety of price ranges: cheap for the basics, mid-range for gaming, and expensive for serious power. You can build a great PC within your budget!
Choosing Compatible Components
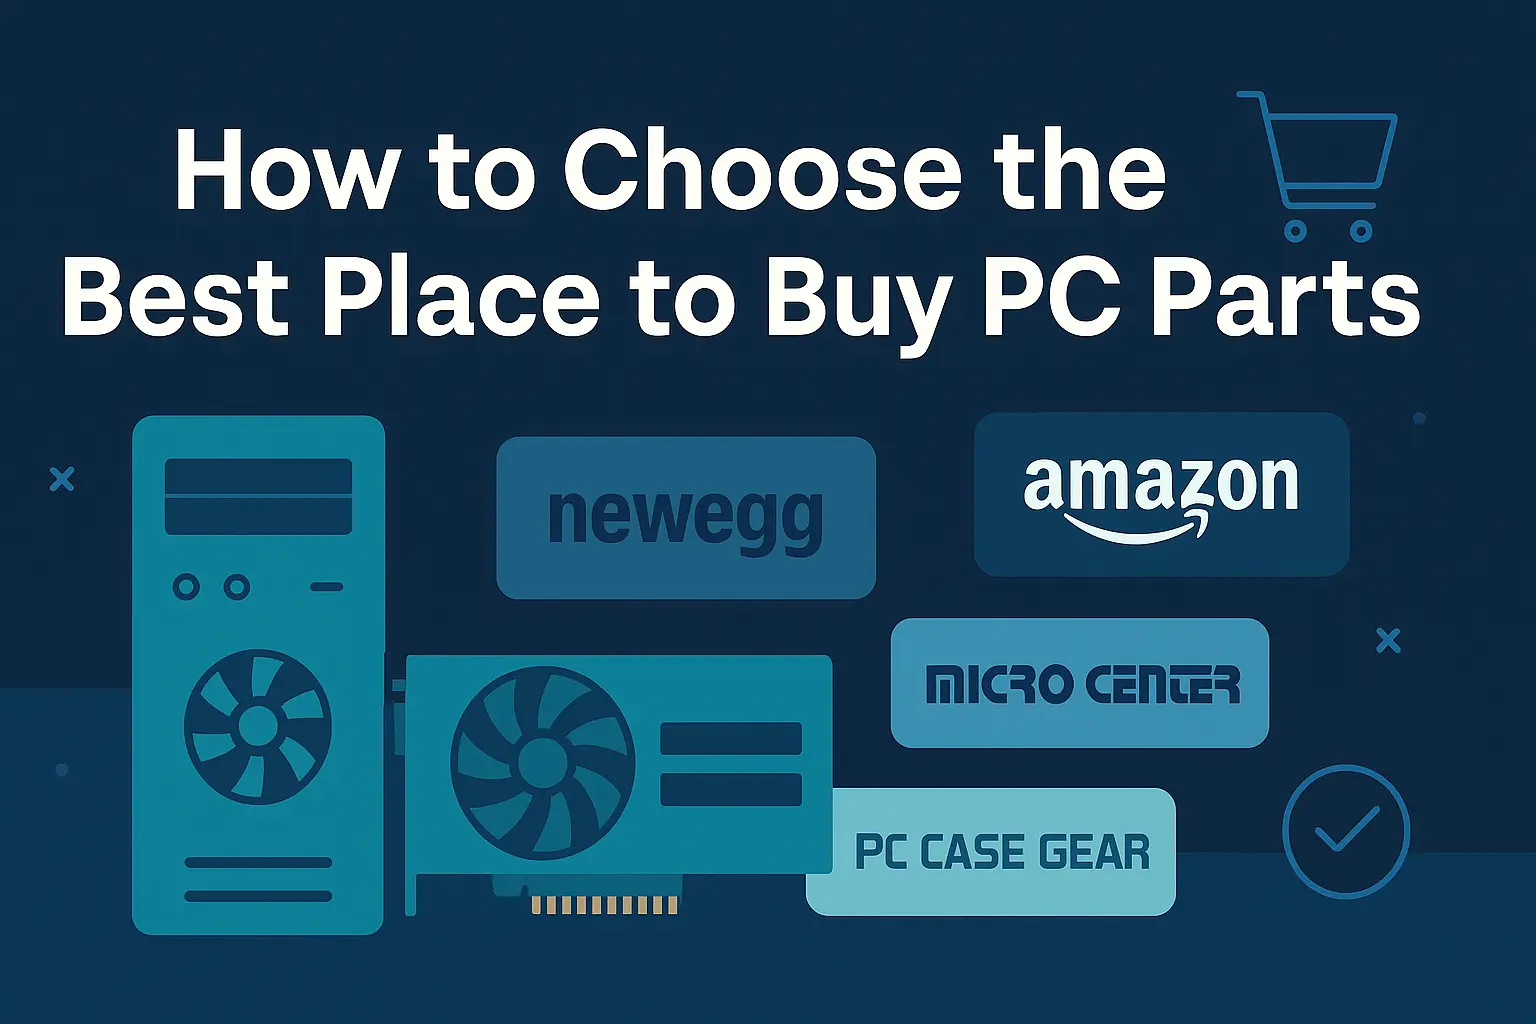
A PC needs a bunch of parts that all fit together, like puzzle pieces. Here’s what you need: a CPU, which is the brain; a motherboard, which connects everything; RAM, which is like short-term memory; storage, where your files live; a power supply, to power it; a case, to house it all; and maybe a GPU, for amazing graphics if you’re gaming. To make sure everything works together, use a free website called PCpartPicker. It checks that your parts fit together so you’re not stuck with pieces that don’t fit.
Essential Tools & Extras
You’ll also need some tools to put your computer’s parts together. Grab a screwdriver to fasten things together, thermal paste to keep the CPU cool, and an anti-static wrist strap so you don’t accidentally zap computer parts with static electricity. If you’re adding a large GPU, a support bracket will keep it from falling over. And case fans blow air to keep your computer from overheating. These things make building a computer easier.
Hardware Components Breakdown
Let’s look at each part of a computer and what it does, plus some tips for choosing the right one.
The CPU is the brain of your computer — it does all the thinking and processes data. It needs a cooler to stay cool, which usually comes with the CPU, but if you want, you can get a better one that will keep it from overheating. The motherboard is like the body — it holds all the parts together and allows them to talk to each other. Make sure it matches your CPU and fits in your case. RAM is the PC’s temporary memory for running programs. Most people use 8 or 16 gigabytes of RAM, and it increases the speed of your computer.
Storage is where you keep your games, homework, and videos. It’s the computer’s permanent memory. SSDs are faster compared to HDDs, which are much slower. SSDs come in two types: NVMe, which is extremely fast, and SATA, which is still faster but cheaper than NVMe. A GPU makes game graphics look great, and a CPU is essential for gaming or creative projects, but not for the basics. The power supply, or PSU, powers everything. Choose one with enough wattage for your components and good quality so it lasts. The case is your computer’s home. Choose a good case with good airflow so it doesn’t overheat.
Step-by-Step Assembly Guide
Now it’s time to build! Follow these steps, and take your time—it’s like putting together a big toy.
First, set up your workspace. Find a clean table, use an anti-static bag to protect your parts, and lay everything out so you can see it. Next, install the CPU. Open the slot on the motherboard, drop the CPU in gently (it only fits one way), and close it. Put a pea-sized dot of thermal paste on top, then attach the cooler and screw it down. After that, add the RAM. Push the sticks into the slots on the motherboard until they click. If you have an M.2 SSD, screw it into its special spot too.
Now, put the motherboard into the case and screw it in place. If you have a GPU, slide it into its slot on the motherboard and secure it to the case. Then, add the power supply to the case, screw it in, and connect its cables to the motherboard, CPU, GPU, and storage. Finish up by hooking up any extra storage drives with SATA cables, attaching case fans, and plugging in the tiny front-panel wires for the power button and lights.
Turn it on for a quick test. Plug in the power cord and press the button. If it lights up or beeps, you’re on the right track! If not, we’ll fix it later.
Cable Management & Cooling
After building, make your PC neat and cool. Tuck cables behind the motherboard or tie them up so air can flow freely—this stops it from getting too hot. Set up your fans right: ones in front pull air in, and ones in back push air out. This keeps everything running smoothly. Every few months, open the case and blow out dust with canned air. Too much dust can heat things up and cause problems.
Testing & Software Setup
Your PC is built, but you need to test it and add software to make it work.
Start by turning it on and pressing a key like Delete or F2 to enter the BIOS. This is a screen that shows if your parts are working—like the CPU, RAM, and storage. If something’s missing, double-check your connections. You might need to update the BIOS (ask an adult to help), turn on a setting called XMP to make your RAM faster, and adjust your fans. Next, install an operating system like Windows from a USB stick—just follow the instructions on the screen.
Then, add drivers, which are like rulebooks for your parts. Get them for your motherboard and GPU from their websites. You can also use a tool called Ninite to grab helpful programs like a web browser. Finally, test your PC with programs like Cinebench or FurMark. These check if everything’s stable. If it passes, you’re all set!
Post-Build Maintenance & Troubleshooting
To keep your PC awesome, clean out dust every 3 to 6 months with canned air—it helps it last longer. If it starts acting weird, like getting too hot, try putting new thermal paste on the CPU. If something stops working, unplug it and plug it back in to see if that fixes it.
FAQ
Here are some questions you might have, answered simply.
“How do I pick a motherboard?” Look for one that fits your CPU and case, and has the features you need, like extra USB ports. “Is it hard to build a PC?” Not really! It’s like following a recipe—just take it step by step. “What’s the best trick for part compatibility?” Use PCPartPicker—it’s like a cheat code to make sure everything fits.
You might also wonder about cables, thermal paste, or upgrades. Keep cables tidy for better airflow. Use good thermal paste to keep your CPU cool. And if you want to upgrade later, start with a bigger power supply and case so there’s room to grow.
Budget Build vs. Future-Proof Build
A budget build uses cheaper parts for basic stuff now. A future-proof build costs more but has stronger parts that last longer and handle upgrades.
Top Mistakes to Avoid
Don’t forget the thermal paste, or your CPU will overheat. Make sure all cables are plugged in tight, or it won’t turn on. And double-check that your parts match!
Conclusion & Call-to-Action
You’ve just learned how to build a PC from scratch—pretty amazing, right? We covered picking parts, putting them together, setting up software, and keeping it running. Now it’s your turn to try! If you’re stuck, ask a question below or tell us about your build—we’d love to hear. For more help, check out PCPartPicker or watch some building videos online. Go build your dream PC and have fun!


Leave a Reply